Google Colab
Why GPU?
If you're been in the world of Machine Learning or Deep Learning, more specifically, you definitely understand the necessity of GPU-enabled computing systems. This is a no-brainer as GPU or TPU (Tensorflow-centric Processing Units) can drastically reduce the run time of the training processes. The same process, which would take more than hours, can be done within a few minutes.
But, if you're a Mac user, the choice is limited to Cloud-based systems only as main-stream deep learning platform, Tensorflow and Pytorch only supports NVDIA's GPU, which Apple in its Mac platforms stopped to adopt for a long time.
Why Colab?
There are several options for who don't have computers equipped with compatible GPUs. Arguably, the most popular one would be Amazon Web Services (opens in a new tab). While it is well-known and used by numerous parties, it isn't free.
So, if you're tight on budget or don't want to spend on it at all, it's not for you.
Fortunately, Google has a free-for-use Colab (opens in a new tab), short for Colaboratory. While there might be limits for usage, it's good for casual uses.
Note: Google also has services which charge, Google Cloud Platform (opens in a new tab).
How to use?
For the most part, using Colab is not a rocket science. It's just a Jupyter Notebook. Only a small caveat is importing libraries or images into the file is a little bit tricky than using it in your computer.
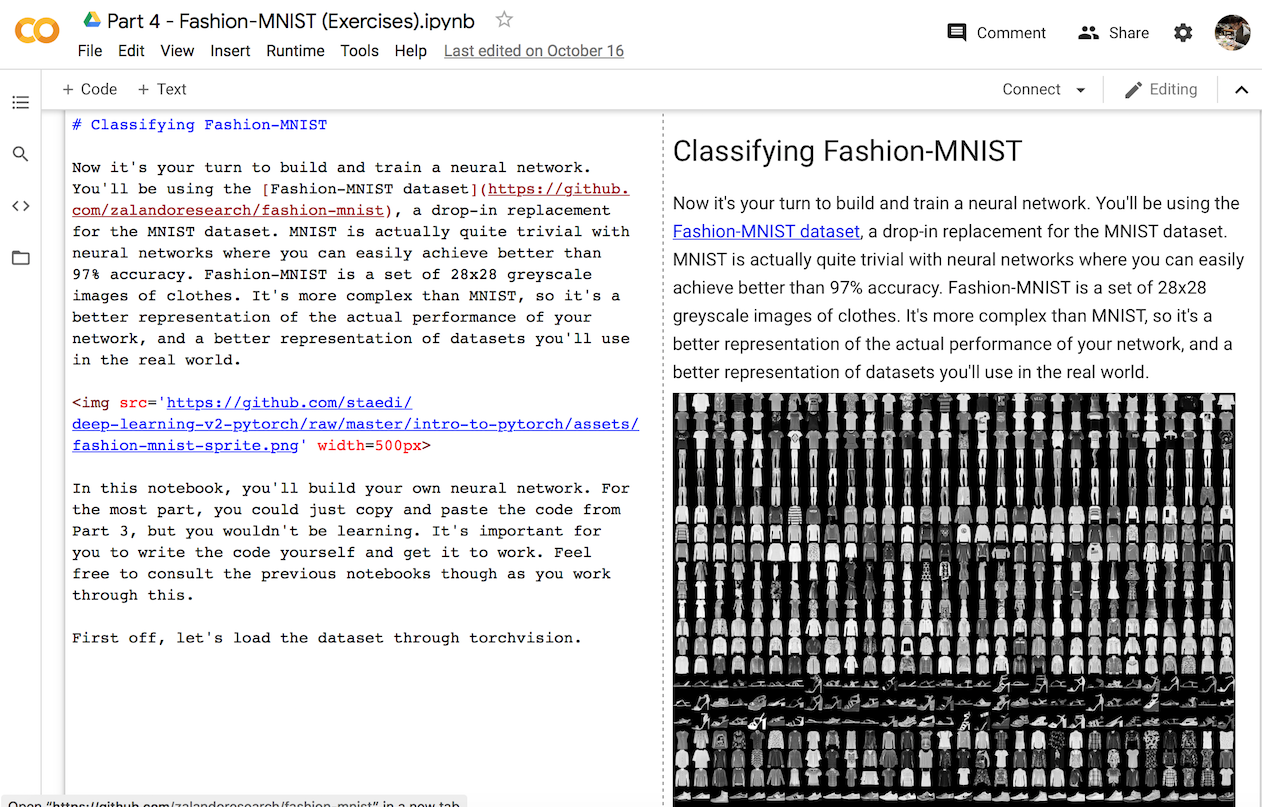
Importing images
Colab notebooks can't recognize the image files in its subdirectories, so those in the markdown section aren't shown properly.
The easiest workaround is to use images in a Github repository and import using img tag.
Importing libraries
While basic libraries preinstalled on Colab are preloaded, user-defined custom ones do not. Most preferred way is to access to your Google Drive and import files from there. The process is like follows.
- Import Google Drive module:
from google.colab import drive - Mount Drive:
drive.mount("/content/drive")(Authorization is required) - Change to desired directory in your Drive: e.g.,
%cd '/content/drive/My Drive/Colab Notebooks/intro-to-pytorch' - Import libraries: e.g.,
import helper
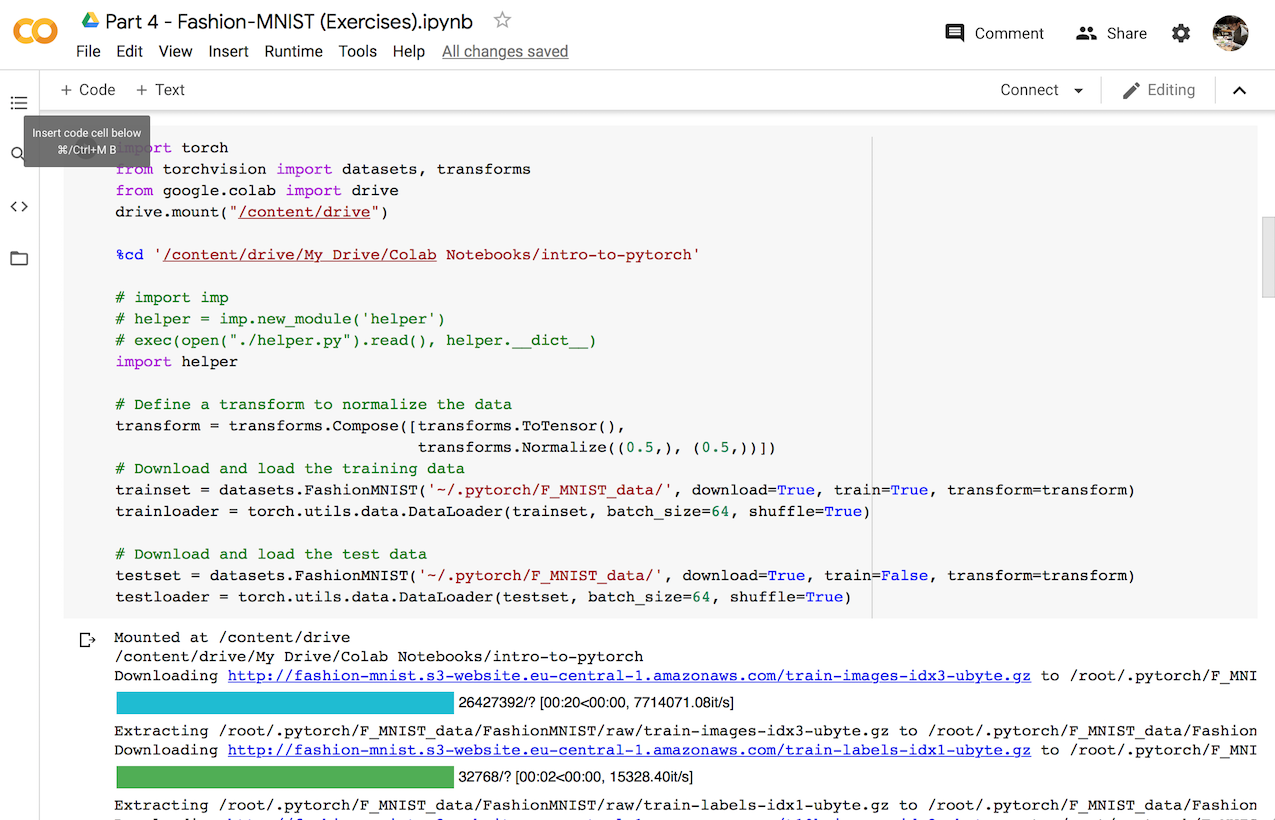
Et voila!
CC BY-NC 4.0 © min park.RSS